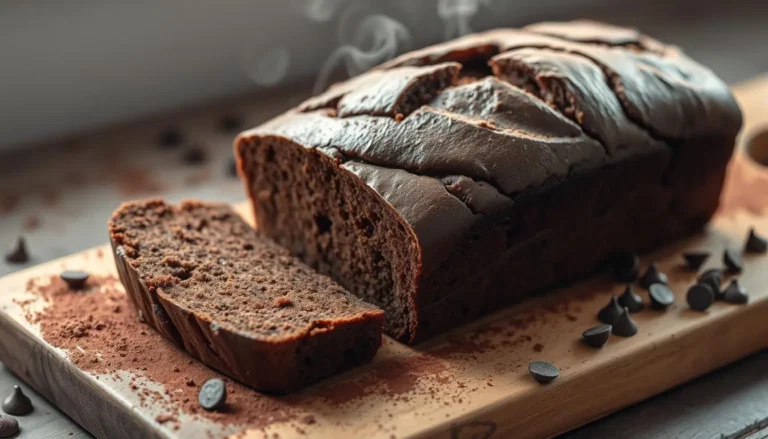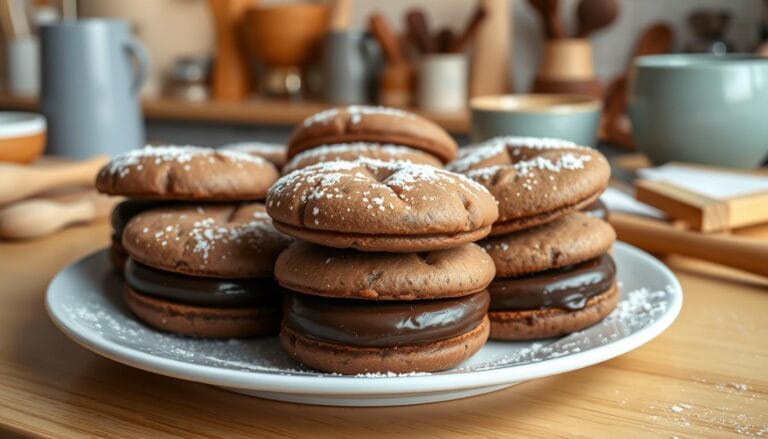
Easy Chocolate Bun Recipe: Foolproof, Fluffy, and Irresistibly Gooey
Discover how to make soft, decadent easy chocolate bun recipe with just 5 ingredients and 1 hour of effort—no baking experience required! Perfect for breakfast, snacks, or midnight cravings.
Table of Contents
Why This Easy Chocolate Bun Recipe Is a Game-Changer
These chocolate buns are more than a treat—they’re a kitchen triumph for busy bakers. Here’s why this recipe stands out:
✅ No-Knead, No-Mixer Magic: A sticky dough that requires zero elbow grease.
✅ Pantry-Friendly Ingredients: Uses basics like flour, sugar, and cocoa—no specialty items.
✅ Kid-Approved: Little helpers can shape the buns and stuff the chocolate!
✅ Freezer-Friendly: Bake a batch now, enjoy warm buns anytime later.
Secret Weapon: Greek yogurt (or sour cream) keeps the buns moist for days, while instant yeast skips tedious proofing.
Ingredients for 12 Perfect Chocolate Buns
(Prep: 20 mins | Bake: 20 mins | Total: 1 hour)
Core Ingredients
- 3 cups all-purpose flour (spooned & leveled for accuracy)
- 1 cup warm whole milk (110°F/43°C – use a thermometer!)
- ⅓ cup granulated sugar
- ½ cup plain Greek yogurt (or sour cream for extra tang)
- 1 large egg (room temperature)
- 2¼ tsp instant yeast (1 packet)
- 1 tsp salt
- 1 cup dark chocolate chunks (or chips; 60-70% cocoa)
- 2 tbsp melted butter (for brushing)
Optional Add-Ins
- 1 tsp vanilla extract (enhances sweetness)
- 1 tsp instant espresso powder (deepens chocolate flavor)
- Zest of 1 orange (for citrusy brightness)
Step-by-Step Guide to Bakery-Style Chocolate Buns
1. Mix the Dough (10 Minutes)
- In a large bowl, whisk together flour, instant yeast, sugar, and salt.
- Create a well in the center. Add warm milk, Greek yogurt, egg, and vanilla/espresso powder (if using).
- Stir with a wooden spoon until a shaggy, sticky dough forms.
Science Tip: Instant yeast activates faster with warm milk, eliminating the need for proofing.
2. First Rise (30 Minutes)
- Cover the bowl with a damp kitchen towel or plastic wrap.
- Let the dough rise in a warm, draft-free spot (e.g., turned-off oven with a bowl of hot water) until doubled in size (~30 mins).
Troubleshooting: If your kitchen is cold, extend rise time by 15–20 minutes.
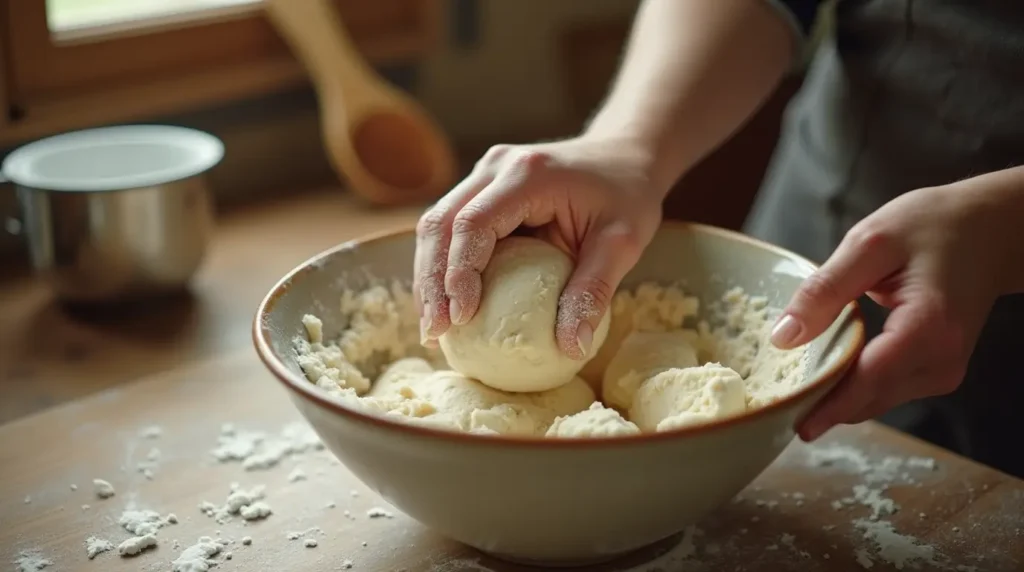
3. Shape the Buns (15 Minutes)
- Punch down the dough to release air bubbles.
- Divide into 12 equal portions (~75g each). Roll into smooth balls.
- Flatten each ball into a 3-inch circle. Place 1 tbsp chocolate chunks in the center.
- Pinch the edges tightly to seal. Roll into smooth balls again.
Pro Tip: Freeze chocolate chunks for 10 minutes beforehand to prevent melting leaks.

4. Second Rise (15 Minutes)
- Place shaped buns on a parchment-lined baking tray, 2 inches apart.
- Cover loosely with a towel and let rise until puffy (~15 mins).
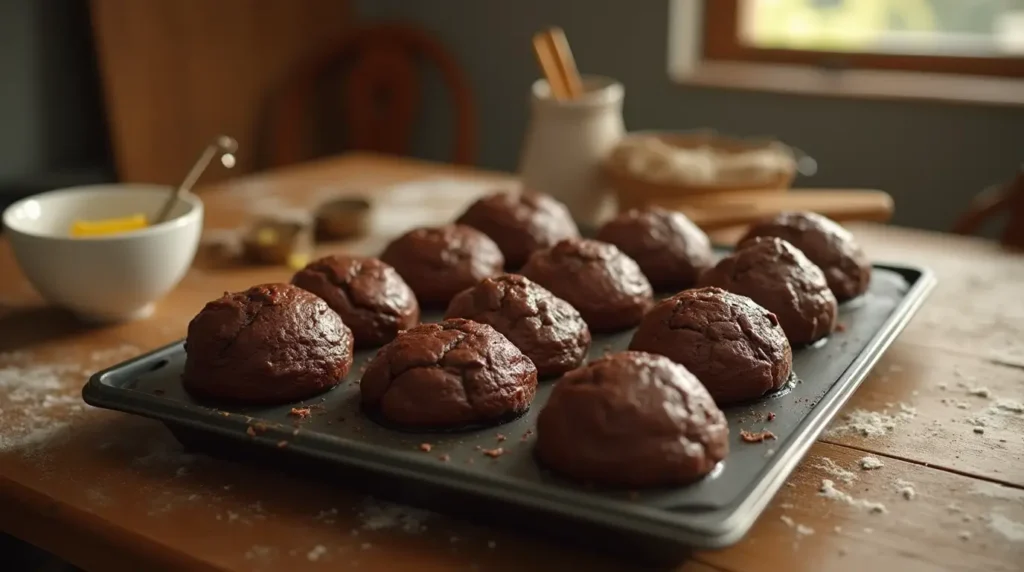
5. Bake to Golden Perfection (20 Minutes)
- Preheat oven to 375°F (190°C).
- Bake buns for 18–20 minutes until tops are golden brown.
- Immediately brush with melted butter for a glossy finish.
Don’t Skip This: The butter keeps the buns soft and adds a rich aroma.
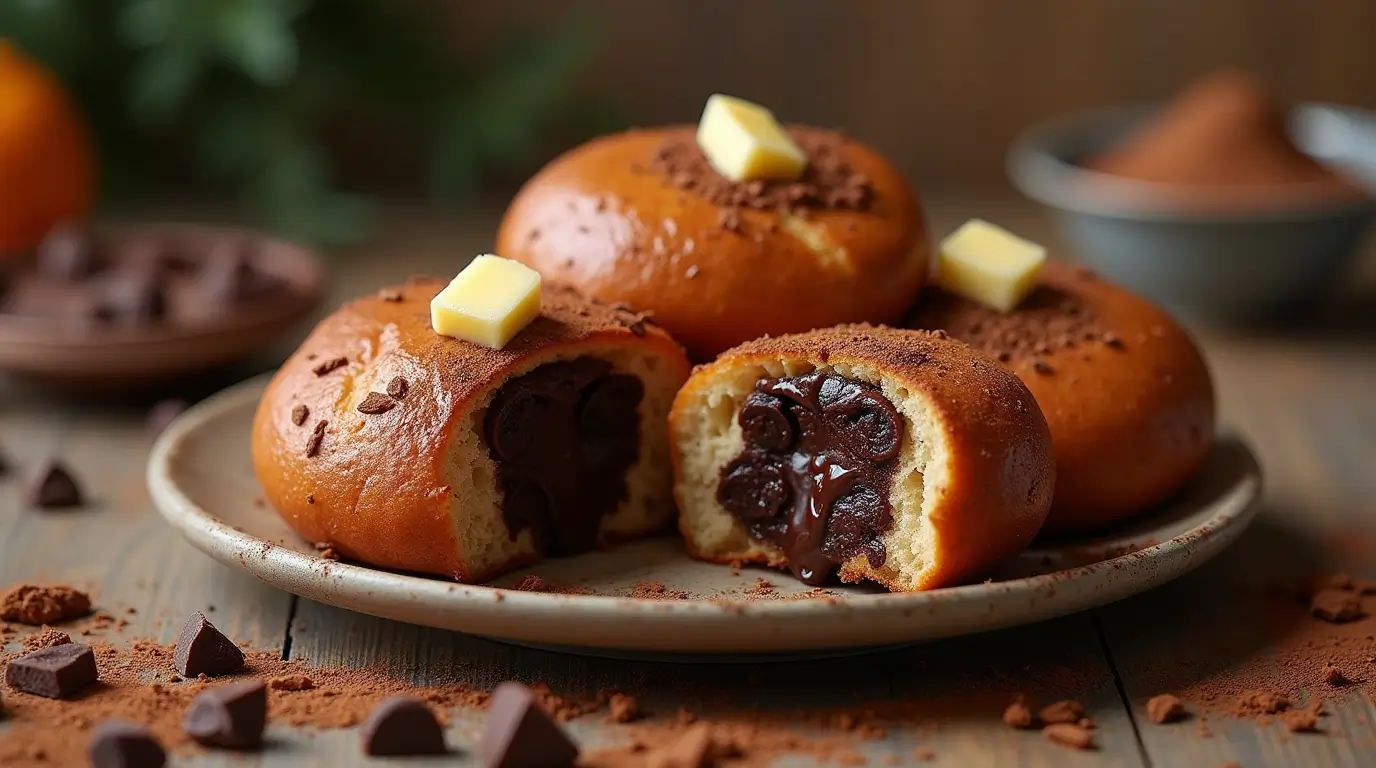
6. Cool & Serve (5 Minutes)
Let buns cool for 5 minutes—then tear into them while warm for molten chocolate centers!
7 Expert Tips for Flawless Easy Chocolate Bun Recipe
- Measure Flour Correctly: Spoon flour into the measuring cup—don’t scoop! Scooping compacts it, leading to dry buns.
- Avoid Burnt Bottoms: Place an empty baking tray on the oven’s bottom rack to deflect direct heat.
- Double the Chocolate: Add ½ cup cocoa powder to the dough for double chocolate buns.
- Test Yeast Freshness: Mix ¼ tsp yeast + ¼ cup warm water + 1 tsp sugar. If it bubbles in 5 minutes, it’s active!
- Freeze for Later: Wrap cooled buns in foil + plastic. Reheat frozen buns at 300°F for 10–12 minutes.
- Enhance Flavor: Brush baked buns with honey butter (1 tbsp honey + 1 tbsp melted butter).
- Fix Sticky Dough: Dust hands and surfaces lightly with flour when shaping—don’t overdo it!
Common Mistakes & How to Fix Them
Mistake 1: Dense, Dry Buns
- Causes: Over-measuring flour, overbaking, or expired yeast.
- Fix: Use a kitchen scale for flour (360g exactly). Set a timer for baking.
Mistake 2: Chocolate Leaking Everywhere
- Causes: Gaps in dough sealing or overly hot chocolate.
- Fix: Pinch edges firmly, and freeze chocolate chunks before using.
Mistake 3: Pale, Soft Tops
- Causes: Oven too cool or insufficient baking time.
- Fix: Use an oven thermometer and bake until golden.
FAQs: Answering Your Chocolate Bun Dilemmas
Q: Can I use milk chocolate instead of dark?
A: Yes, but reduce sugar to ¼ cup since milk chocolate is sweeter.
Q: How do I make vegan easy chocolate bun recipe ?
A: Substitute:
- Egg: ¼ cup unsweetened applesauce
- Milk: Almond or oat milk
- Yogurt: Dairy-free coconut yogurt
- Chocolate: Vegan dark chocolate chips
Q: Why didn’t my buns rise?
A: Likely expired yeast or overly hot milk (which kills yeast). Always test yeast first!
Q: Can I prep the dough overnight?
A: Yes! After mixing, refrigerate dough for up to 16 hours. Let it sit at room temperature for 30 minutes before shaping.
Q: How do I store leftovers?
A: Keep in an airtight container at room temperature for 3 days. Add a slice of bread to absorb excess moisture.
Serving Ideas & Creative Variations
Sweet & Savory Pairings
- Breakfast: Serve with fresh berries and a dollop of whipped cream.
- Afternoon Snack: Dip in warm Nutella or peanut butter.
- Dessert: Top with vanilla ice cream and caramel sauce.
Global Twists
- Mexican: Add ½ tsp cinnamon to the dough + serve with dulce de leche.
- Italian: Stuff with Nutella and hazelnuts for gianduja buns.
- French: Brush with apricot glaze (1 tbsp jam + 1 tsp water).
Holiday Specials
- Christmas: Add orange zest to the dough + stuff with white chocolate.
- Easter: Shape into nests and fill with mini chocolate eggs.
The Science Behind Perfect Easy Chocolate Bun Recipe
Understanding the “why” elevates your baking:
- Yeast Activation: Warm milk (110°F) wakes up yeast without killing it. Too hot (>140°F) destroys it; too cold (<95°F) slows growth.
- Gluten Development: Resting the dough lets gluten strands form naturally, eliminating the need for kneading.
- Steam Effect: Brushing with butter mimics professional steam-injected ovens, creating a soft interior.
Tools You’ll Need
- Kitchen Scale: For precise flour measurements.
- Dough Scraper: Helps portion dough cleanly.
- Oven Thermometer: Ensures accurate baking temps.
- Parchment Paper: Prevents sticking without excess grease.